The idea is to make your card look like a handmade quilt with the quilted stitching, but without having to sew on your card. Here is the photo she used as her inspiration:
And here is one of the cards she created for the tutorial:
I just adore how this looks! It really looks like a handmade quilt to me. Quilts like this always remind me of my Grandma, because she used to make patchwork blankets. I still use the one she gave me when I was a little girl nearly every day. In fact, my blanket is so loved that it's slowly falling apart at the seams. I guess that's what 25 years of daily use [the first 5 or 10 included dragging it everywhere I went and building forts with it] will do to a blanket. :) LOL
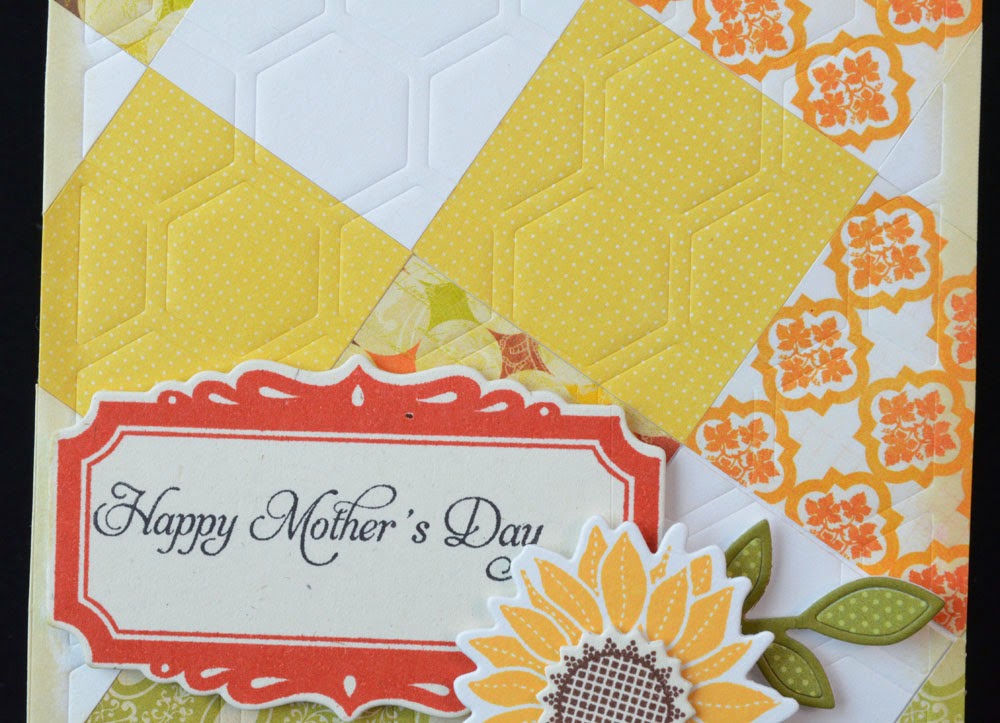
Anyway, I decided that I would make my Grandma a "quilt" in return. :) As in, a quilted card for Mother's Day!
My card base is Stamper's Select White cardstock. All the patterned papers came from 6x6 paper pads I have, but I forgot to make a note of which ones I used. The sentiment comes from the Delightful Dahlia stamp set. I used one of the dies and stamps from the Pretty Peonies set for the sentiment panel and frame, which is stamped with Terracotta Tile ink.
The flower comes from the Simple Sunflower mini stamp set, and is die cut with the matching dies and stamped with Summer Sunrise and Dark Chocolate inks.
I die cut those cute leaves with a die from Poppy Stamps. Since I don't have the solid die that matches, I had to get a little creative when I paper pieced it together. I really wanted them to have a quilted feel of their own, so I wanted to paper piece them together, but didn't have a solid background to adhere them to [I didn't want them to be glued down on the card]. So I covered some cheap white cardstock with Be Creative Tape and ran it through my Big Shot. The die didn't cut all the way through, but it cuts through the protective sheet on top. The I just pealed off the pieces of protective paper one at a time and stuck the colored die cuts where they belong.
And of course I had to "quilt" the card background. After gluing down all the little paper squares, I ran the card through my Big Shot with Hexagon Cover Plate die to emboss it [using embossing pads of course]. For a tutorial on how to do this technique click here.
Continued in next post...


No comments:
Post a Comment
Groovy messages for Hippymom: